Thursday

Dream Studio..


Jenni Bowlin's, scrapbook designer, redecorated studio! Isn't it a dream come true? Here you'll be able to chill and do what you want to do, your very own space! Time to yourself, time to relax and de-stress. I love the furniture, I love how its all white, I love it to the every detail of it. Notice the shelves for the stamps? I think that is the best possible way to display your stamps. Great job! If you're curious to see Jenni Bowlin's creation check out her blog http://www.jennibowlin.com/

Tuesday

9 months


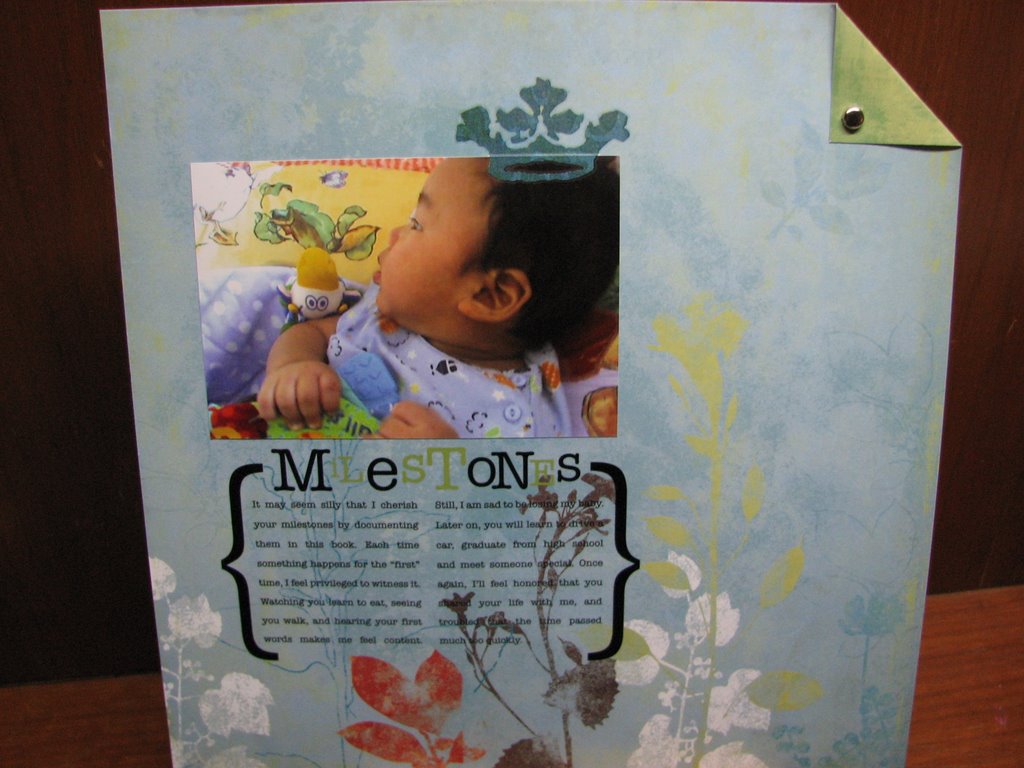
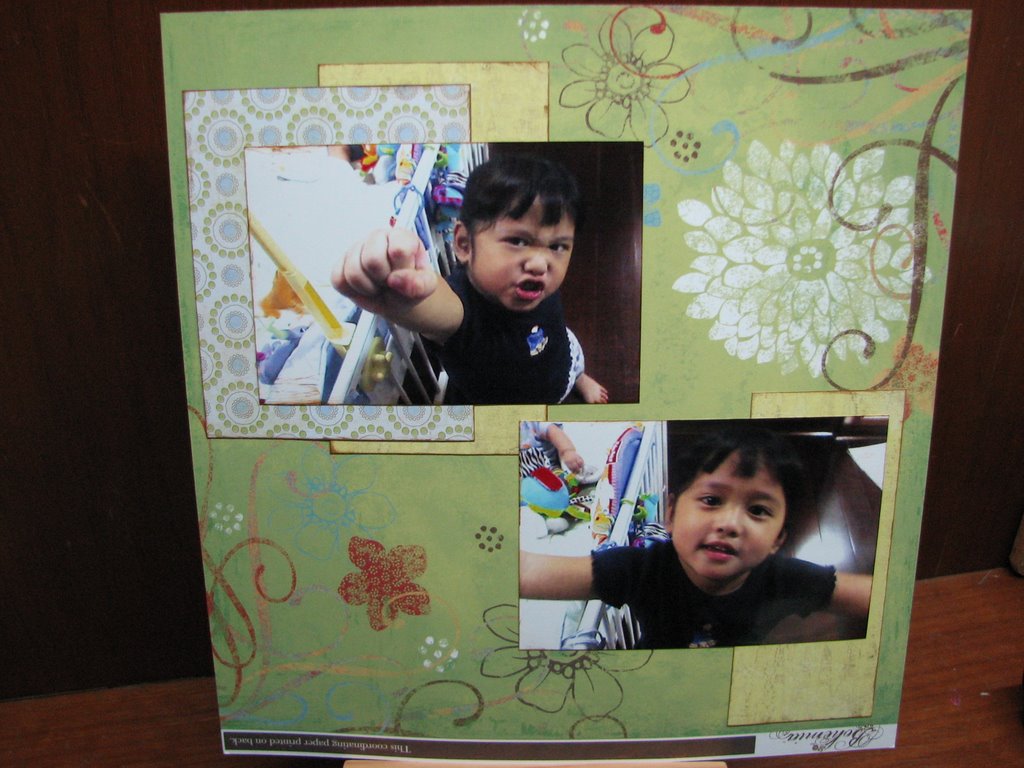
Ariff's picture taken on Nadira's birthday party on 7/1/07 at Kidzsport, BSC. He enjoyed himself so much. We had everyone there, Adib, Adam, Mimin, all baby cousins attended the birthday party. Layout is scraplifted from Ali E. I think its real simple and got a chance to use my new clear stamps from Autumn Leaves. Absolutely love clear stamps now. With green swirls on top left hand corner, I managed to stamp twice with clear stamp block. Made a mistake with green being too light so had to stamp one more time to darken the colour. Not bad, stamp it, no sweat!

Saturday

Japanese, Japanese, Japanese

Today its all about Japanese. Made menu cards and name cards. Had to keep it simple for we didn't have enough time to do anything more. Anyways, we whipped up these cards in minutes!

Wednesday

Hap-py

Happy is my word for the rest of the year.

Happy is joyous, joyful, blithe, cheerful, merry, contented, blissful, satisfied, favourable, successful, propitious, prosperous.

I will put all this beautiful words into my little notebook to remind me all the time of what i wanna be this year.

I cannot believe that the purpose of life is to be happy. I think the purpose of life is to be useful, to be responsible, to be compassionate. It is above all to matter, to count, to stand for something, to have made some difference that you lived at all.

Sunday

Taking up a Challenge


Ali Edwards, my inspiration (besides you, Nings), posts challenges on a monthly basis. One of my new year's resolution is to spend more time with myself. So what do you know, Ali E's 1st newsletter for 2007, is One Little Word, check it out at http://www.lifeartmedia.com/newsletter11.html. The idea is to introduce a single word can be a catalyst for enriching your life as well as your scrapbook layouts. It can be a something tangible or intangible. It could be a feeling or an emotion. It can be singular or plural. The key is find something that has personal meaning for you. My word is, Happy! So i made this journal for myself to remind me of my word.

2 thumbs up gallery!

Please check out http://www.concroption.com/Gallery/tabid/631/Default.aspx for mini albums inspirations!! They are aboslutely beautiful!! Enjoy!

Invitations


1st birthday, jungle animal theme. Card is dark green, hand cut grass in lighter green. Animals in front of card a gorilla in yellow, an elephant in baby blue and a zebra in baby pink. The idea is to keep the colours to baby-ish colours.

Top of cards says KAY VEN TURNS ONE!


Inside of card, says, You are invited to a roaring good time at Kay Ven's 1st birthday party! Sunday 11 February 2007 at 11am, Level 2, 3 Kia Peng Apartments, 3 Jalan Kia Peng, Kuala Lumpur. RSVP lysha.


7th Birthday. Dragon theme. Dragon with wobbly eyes. Pink box is space to insert photo.

Inside of card says, Come and join our magically mythical adventure where dragons rul the skies, unicorns roam the elms and wizards brew up some wonderful tricks. Date and venue same as above and right on the bottom of card, it says, please come dressed as a magical/mystical creature!

Thursday

Basic Techniques

When it's time to get started on your very first exciting layout, here are some basics to get you started~

Selecting your pictures. Take your time selecting the photos you would like to scrap, there are no rules in how many photos you can put on one layout. You can have one impactful photo or a series of images depicting a holiday/special occasion. Picking photos with similar colours/themes/series of events works well on a page together.

Cropping your photos. You have to first know what you want to focus on in a photo. You can shift the focus attention of a photo by just cropping it with a computer or simply lay pieces of paper over the area you think you're cutting away. That way, it can change dramatically the emphasis of an image on the photo.

Selecting papers & cardstocks. Choose your colour scheme, either by selecting a colour from the photo you have selected or try selecting papers/cardstocks reflecting how you feel about the image.

Matting your photos. A matting technique will help you make your photo stand out from a layout and it gives a frame to your photo. Cut carstock slightly bigger than your photo then mount the photo on top of it. For extra dimension, double matting the photo will give a more impactful image.


Putting your layout together. After choosing paper for your background, you can then start arranging your layout. Do not stick anything yet, try different arrangements first. Start with your main photo in the right place and only when you're happy with the focal point, then and only then stick everything together. Add embellishments and lettering that matches your colour scheme in the layout.

and there you have it.. the basic techniques in starting your very first scrapbook layout. Its very simple. There are so many embellishments and different kinds of lettering you can use for your layout, always remember to not use too many elements on the page as that will take away the focus on the pictures.

Have fun and be daring!

Wednesday

Shortbread Special


Mak had a special celebration for the birthday gals.. So made cookies to put in jars as a birthday gift. I have tried so many cookies recipes, never really got it right. I had to make these twice to get it just right. I love making them! I have to start a new project, I need to make a recipe keepsake. Have no idea yet of what I want or how I am gonna do it. I need have that so I can start collecting beautiful recipes such as this. This recipe is called the Icebox Shortbread from Martha Stewart's Everyday Food.

Tuesday

Essential tools

1. Eyelet Setter: eyelets are easy for fastening elements to your layout. Setter can flatten eyelet backs to secure element. Setters may come in different sizes to cope with different eyelet sizes. There are only about 3 sizes.

2. Hole Punch: Create holes on layout as decorative patterns, or to add eyelets or brads. Interchangeable heads will make various-sized holes.The beauty about this tool is that you can have the hole anywhere on the layout, unlike using an ordinary puncher.

3. Mini Hammer: a little girlie hammer especially for setting eyelets or to put force into your hole punch. With the new gadgets out every season, many brands are making new tools where most of them requires a hammer to punch hole in. A must buy!

4. Cutting Mat: A self-sealing mat to protect table top. A must have too! Don't want to damage the beautiful desk!

5. Scissors: Good scissors are essential for intricate cutting, while a standard pair is good for general cutting. Did you know they have a non-stick scissors especially for adhesives. Fiskars ones are pretty cool, they are black in colour, kinda reminds you of the non-stick pan in the kitchen. Hehehe

6. Metal Ruler: Great for accurate edges. It is best to use a metal ruler so there be no damage done to edges.

7. Paper Trimmer: Makes cropping photos easier. More handier than a metial ruler and a craft knife! Trust me! Been there done that!

8. Craft Knife: For intricate cutting and light scoring is easy with a craft knife.

9. Bone Folder: Helps create crease (i.e. scoring) for easy folding.

10. Paper Piercer: Helps create fine and precise holes in preparation for stitching or for attaching brads. Really comes in handy when making albums!

Its all fun I tell you... all so exciting... these are just the essential tools don't get me started on the nice-to-have-tools list! Muahahaha

Saturday

You are my sunshine

As you can probably tell, i am trying to use as much handwritten journalling as i can. Prior to reading and doing the exercises in the Heidi Swapp Handwriting book, I have learnt that we can learn to love our very own handwriting. This layout took me only minutes to put together. The journalling was written first in pencil then trace over with acid-free black marker. Ok maybe I'm into the swirly thingy at the moment, yes Ning, swirly is done with free hand. May i also add Ning is very hesitant with writing anything, even if its just a line! But hopefully after the Swapp book that she might be more daring to write her journalling. We'll see.. I guess I can also say my new year's resolution would be to hand write my journalling more now. Hehehe. We'll see about that!

Friday

Nadira turns 4!

My first attempt to making buttercream icing turned out just the way i wanted it to. Not bad for a first timer. My hands were shaking though. Icing always scares me away. I am very happy with the outcome thanks to Ning and Nigella for the beautiful recipe! Nadira turns 4 today, she was speechless when she saw the cake, I could see her eyes staring towards the cake by the dinner table. She is so cute. Dora the Explorer is her favourite at this point in time. She absolutely adores Dora. There was a time when my Nadira really did look very much like Dora, everybody agrees with me. At home, she is still being called Dira-Dora!

Special


Another simple layout. Love the photo. My journalling for this layout says: " Mama Ning, you are so special. You are thoughtful and very gentle. We are glad to have you as our very special friend". Title: Special Friend, Special Cuddles, Special Love. Ahem.. doesn't the paper clipboard look familiar? Mama Ning's new Sizzix die cuts!! We miss you..

What is ...

1. What is Scrapbooking?
Scrapbooks are used for sharing thoughts and feelings and recording family stories and special memories. Scrapbooks are cherished memory books that tells a story of who we are while preserving our memories for future generations. Scrapbooks are a celebration of our lives, an artistic expression of who we are, a place to have fun while recording the memories that make our lives unique.

2. What is acid-free?
Paper, card or products that don't contain acid. Using acid-free supplies means that your work will last. Acid attacks the surface of the photos, causing them to deteriorate.

3. What is Lignin-free?
Paper/products that do not contain the sap that holds wood fibres together as a tree grows hence preventing the paper/product to brittle or yellow with age.

4. What is a crop?
A group of scrappers working on their layouts together and sharing ideas, having a scrapbooking session together.

5. What is cropping?
The process of cutting photographs to focus on a certain area.

6. What are eyelets?
Small metal shapes used to fastened into a pierced/punched hole that becomes flat on both sides. You will need a tool to do this.

7. What is journalling?
The writing on the page, the story behind the pictures.

8. What are die cuts?
Pre-cut paper shapes in both printed and solid colours, used as extra decoration on your pages/layouts.

9. What are embellishments?
Used to refer to the non-paper decorations/products. There are a wide range of embellishments ranging from charms to buttons to shells, etc.

10. What are rub-ons?
Alphabets and images that can be transferred to backgrounds with a stylus or stick.

Wednesday

Scrapbooking 101

So.. I have been updating meself with some Bruneian blogs over the holidays and friends encouraged to check out the very few scrapbooking one http://www.scrapper-holic.blogspot.com/. Thought the blog was very informative for you all new or scrapaholics out there. There is an extensive review of different adhesives and not to mention pictures to go with it too! and most importantly where to buy them adhesives. So thanks to the blog, i would like to write about what scrapbooking is all about in my next few posts. Keep up the good work scrapper-holic!

Monday

Ahhh!!!!... It finally arrived!!! My very own Big Shot! I really can't wait to get my hands on it.. try it... compare using it to a Sizzix.. Yay!!!!!!!!!

Sunday

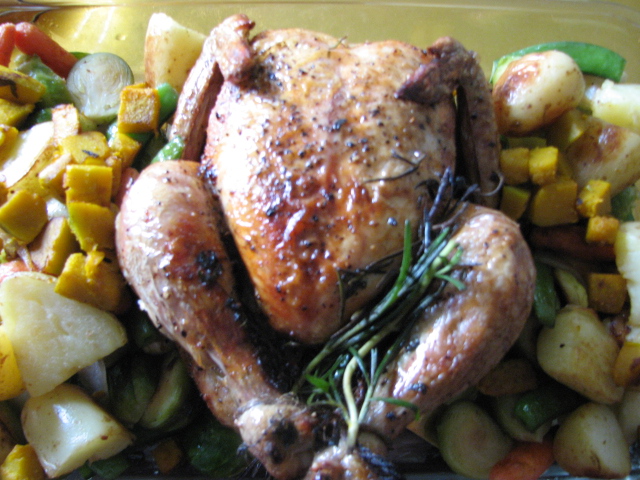
Roast Chicken and Herbs Lunch

A recipe from Martha Steward's EVERYDAY FOOD. Every Sunday, we try to make something special, apart from the norm, nasi and lauk. Today, I decided to roast chicken! Thank Gawd, it turned out great. Love this recipe and very simple too. Takes only 15 minutes to prepare but 1 hr 30 mins to cook! Chicken is marinated with butter, salt and pepper! the rest such as lemon, crushed garlic, rosemary and thymes are stuffed into the chicken. Cook in 245 C. Everybody loved it! Yay! Another fun Sunday lunch!

Saturday

Making a 6X6 Accordion Album


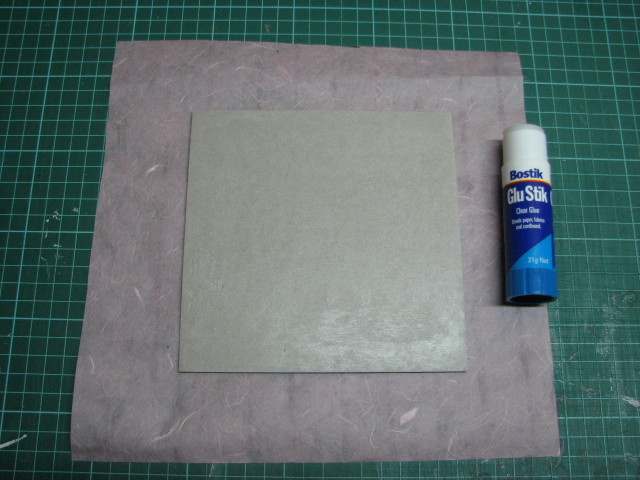
To make an accordion album is very simple. Usually I use glue stick, it works just fine. But if you are making a bigger album, I would suggest to use liquid glue, any liquid glue that is, it holds much stronger.

Make sure glue is all over the mounting board, especially the edges too!
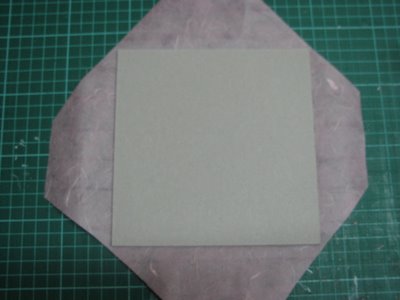


When cutting off corners, just make sure that the width between the mounting board and the paper is the same length as the height of the mounting board. Just so that corners will look much neater when there are ample space for folding in corners
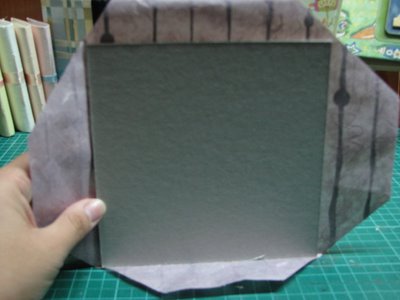
After applying glue to flap just bring the mounting board forward like so, to minimise the air bubbles from getting in between paper and board
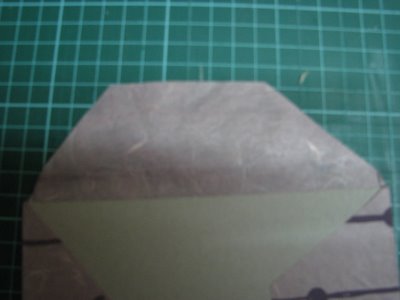
Use scorer to fold in the sides.
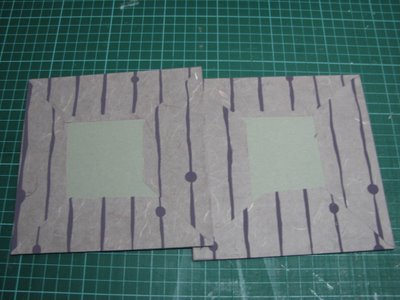

This is how my covers will look like when finish.
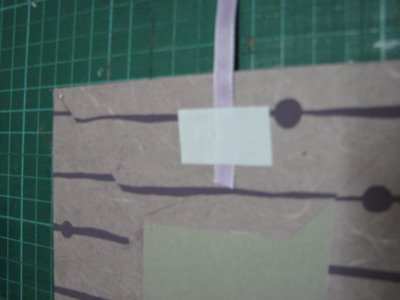
Now when adding ribbons to albums, adhere end of ribbon with double sided tape,
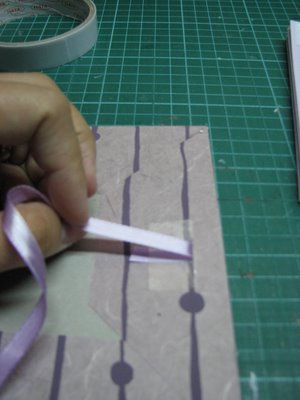
Bring back and over then glued down again with another piece of double sided tape, the more times you go over the tape, the stronger the ribbon will hold onto the board..
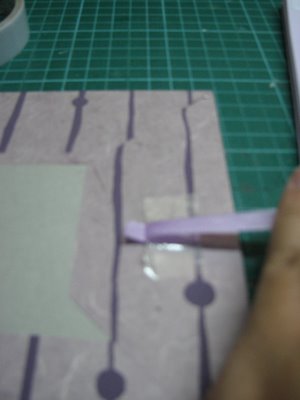
Its very simple. As I intend to decorate this album with light embellishments only, I have only gone over twice with the ribbon, that should be sufficient enough to hold album together.

I like to line pages up this way so i know where i need to have the double tape. This technique will really help when we are doing the star album next time.
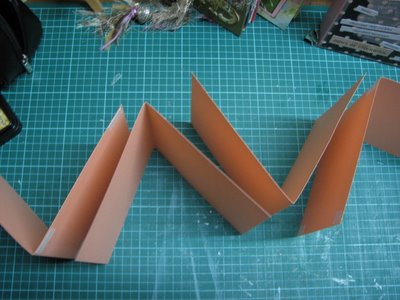
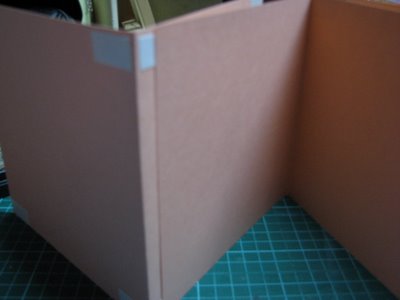
Lining up the pages can be tricky. I used to line them up in standing position like this before i stick them together.
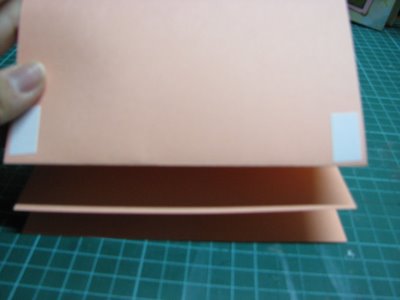
But.. I found that if you lay pages flat on the table and align the edges together, there is a better chance of a perfect stick. Practice makes perfect though..
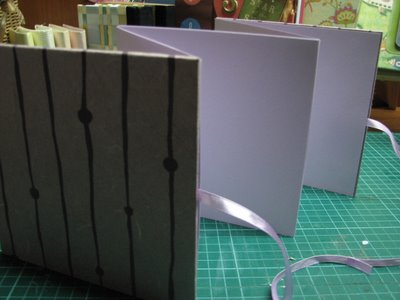
Lastly, pages are then stuck to covers to finish.
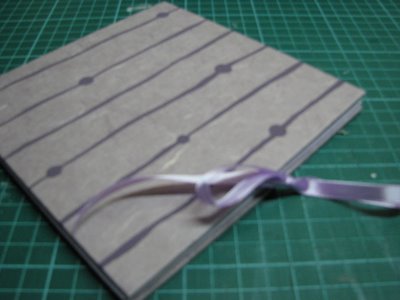
Project done! with the most simpliest technique ever for an accordion album!

Hope you find some handy tips here. Please check back for more albums coming soon!

Thursday

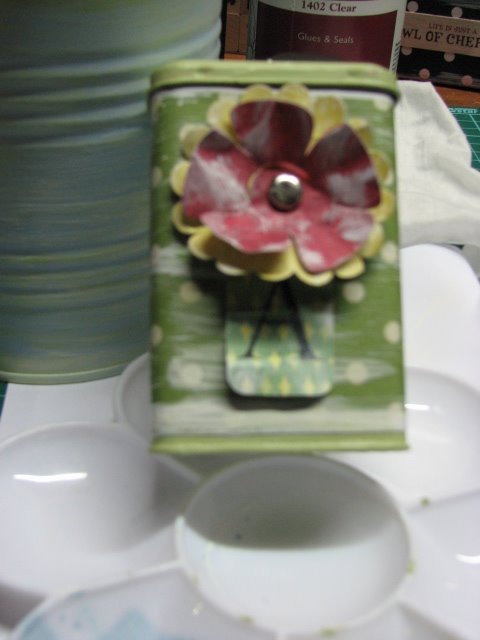
Altered Bubble Gum Mini Tin


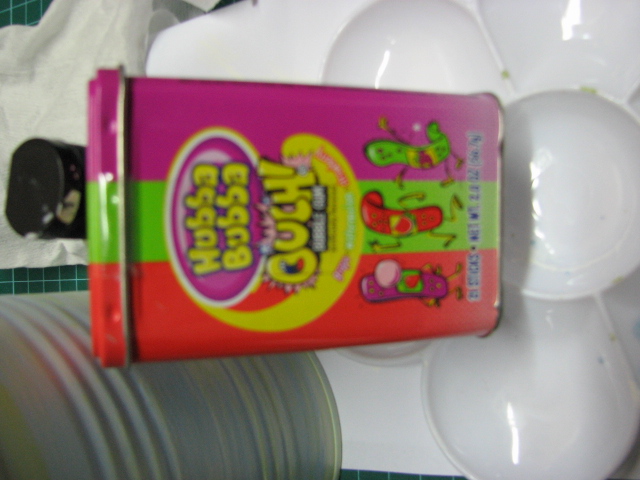
My very first altered tin and this is for you, Ning! Remember how Mel used to use the same tin for her ciggies, yeah well, you can use it for something else then..now that you..(ahem). This altered art was very easy to do, took me longer than i thought to finish only because i was taking my time to decide on the paper and colour i wanted to use. I had to pick a theme that was not to flowery (as you know my taste.. sometimes.. it can be too flowery.. so i try to not be this time). Hope you like this one!


Wednesday

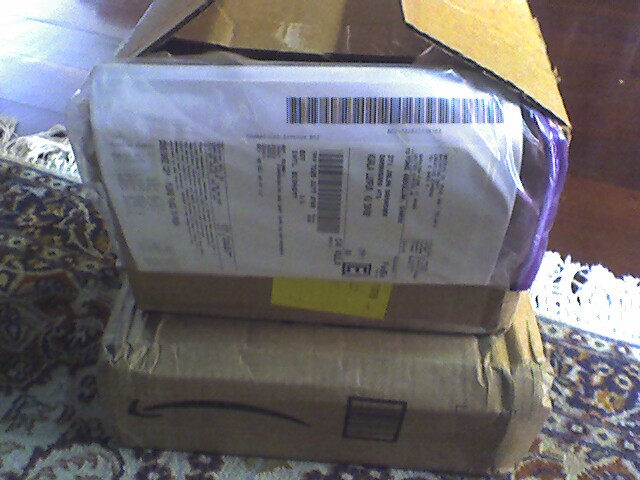
Parcels, Parcels, Parcels Today


This is what arrived for me today. Books from Amazon.com and scrapbook supplies from Creativexpress.com. My absolute 2 fav websites at the moment. Creative Express is very efficient with their parcels. Only takes 1 week for parcel to arrive after ordering. Very efficient indeed! Works very well when there is something you need a.s.a.p! hehehe..

Monday

Rumah Tanjung


So anyway Mimin and I managed to get away from everything else this morning to spend time at the Spa, Rumah Tanjung, in Damansara Heights (ahem.. its close to home too!) Boy, did I need it! (So did she.. hehehe) Place was so serene and quiet, just the place i wanted to be on a Monday morning! We arrived around 10ish when we served ginger tea followed with a soaking of the feet in serai and lime warm water.. aahhh.. changed into towels for body scrub for an hour, then after soaked in aromatherapy bath with flower petals, last but not least another hour of body massage!! Came out feeling so refreshed and rested! A little time away from the screaming kids is always good for the soul! Time to myself. All in all 3 beautiful well rested hours!! (except for time when hubby called asking where his shirt was..argh!) But it was all good!!

Friday

a project by salt


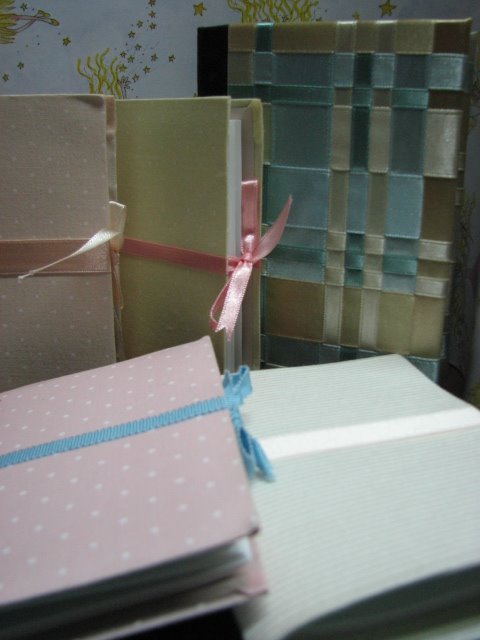
Found these hand crafted notebooks in Bangsar Village today. Couldn't help but bought some just to inspect. Little notebooks like these were just RM15! Offer was 4 for RM50. Not bad, quite competitively priced must say. Often, we use too pricey materials to make our albums, unlike this one, materials used are fairly priced (cheaper). The slightly thicker notebook was only going for RM28! Made from different sizes of ribbons and sweet colours. I am still figuring out if they binded the thicker book themselves, or did they just do the cover. They also had scrapbook albums made from hand, i think, going for RM128! With these kinda pricing, hmm..gotta really look into using cheaper materials or maybe even looking for way cheaper resources altogether. Also they have a website, www.saltbqe.com although think they are still constructing it. Sigh*

Mini Yummy Cupcakes


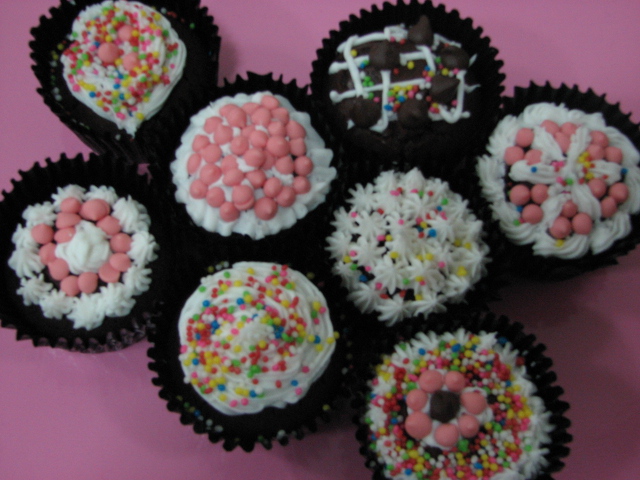
Mimin and Nadia made this today.. They are determined to make more beautiful cupcakes such as these. They are just too pretty to be eaten! Recipe was for a chocolate cake but Mimin improvised and made it into kinda like a cupcake. It's yummy, i tell you! Icing is not too sweet just right! Think they did a great job with trying. Not bad at all for a first attempt! Keep making more!!!
Wednesday

The American Bazaar Day


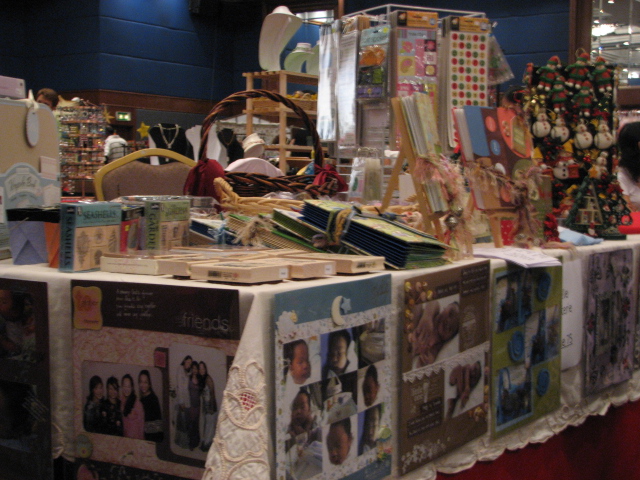
Started the day so earlier than usual. Managed to get Nadia out of the house by 7am for school, had to be at Crown Princess Hotel before 8.20am way before the door closes for vendors. When i got there, there were heaps of tables being set up and ofcourse Michelle, the early bird, was standing at ours, preparing for our christmas sale. This time we didn't get to prepare too much, we wanted mainly to market for the new shop in December!! Must say, we did pretty well with that! Managed to make known what the shop will be selling and teaching classes too! People were thrilled to hear that it'll be in Bangsar Shopping Centre by December. We were giving out flyers and name cards, believe it or not we ran out!! We both had fun, most importantly.

Tuesday

Boxes


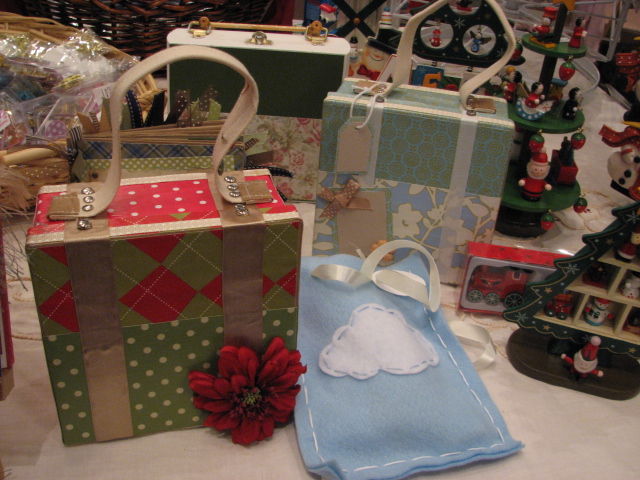
Gayn attended a making boxes class last month, enjoyed the class so much that she ended up buying additional 2 more box making kits from Laines. So when she came over for Raya, we actually had time to make them. We decided to make boxes in christmas themes to keep little tringkets from the holiday season for memories. Boxes are really cute, brads are used to make boxes look like little suitcases and ribbons as bag straps. The blue box is the one Gayn did in class, the other is done by me. Real easy to do, willl definitely do more. Now am scouting out for empty brown boxes to paint over, until then will i definitely make more. Fun Fun Fun ...

Monday

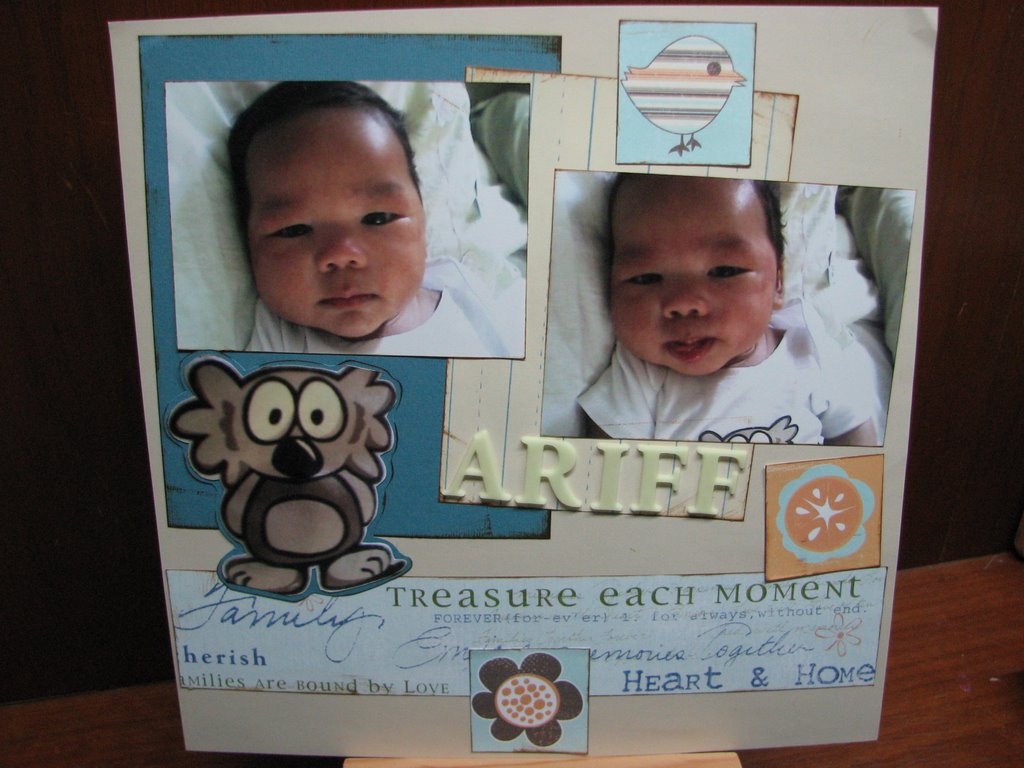
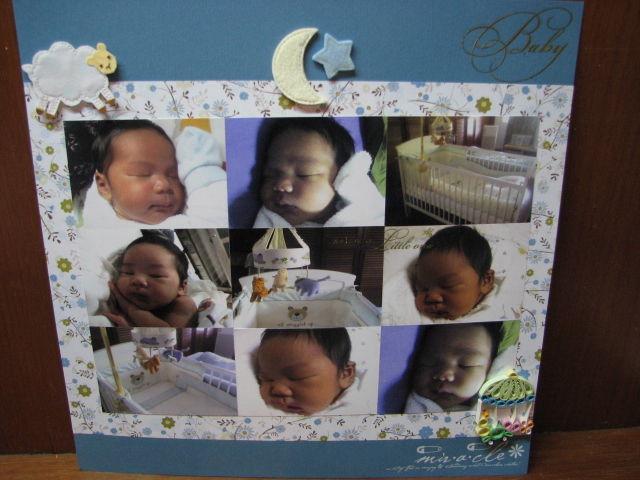
Baby


Scraplifted this layout idea from Ali Edward's blog. Love it! Took the photos of Ariff's crib the day before we were admitted into the hospital. The stickers are Jolees Boutique from Laine's Paperterie, Singapore, day trip in August.

Thursday

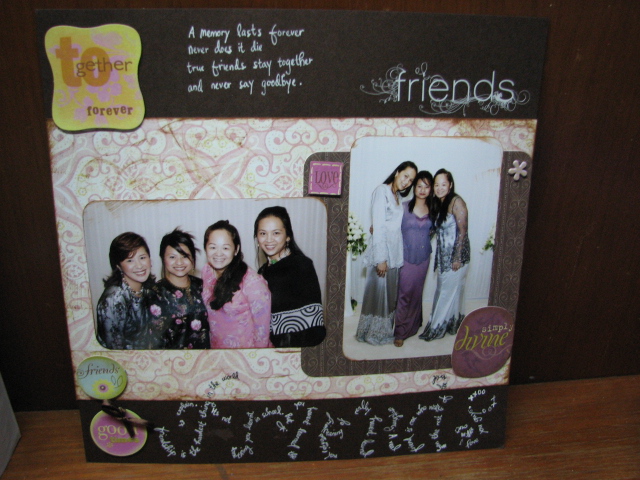
Friends


I absolutely love this photos of us, if frances was in it, it'll be perfect! Another simple layout but here i try to incorporate more my own handwriting. Also what i did was i distressed the pink patterned paper with tim holt's brown distressing inkpad. Find that distressing parts of the layout gives the page a more complete look.

Friday

Love


I love this layout. Love the photos! While scrapping this layout, was listening to Andrea Bocelli & Christina Aguilera - Somos Novios! Miss you ning. Wish we could spend more time together. Wish i was closer to home..sob

Thursday

Extraordinary, Delight, Whimsical


very simple layout. sort of scrap lifted from the mag. love the swirly thingy. i really like to make my very own embellishments just like this one. Ariff's very first jungle gym. he loves playing with his new toy, sometimes both the kakaks fight over this. so funny.. patterned paper from basic grey and rub-ons from k&co

Monday

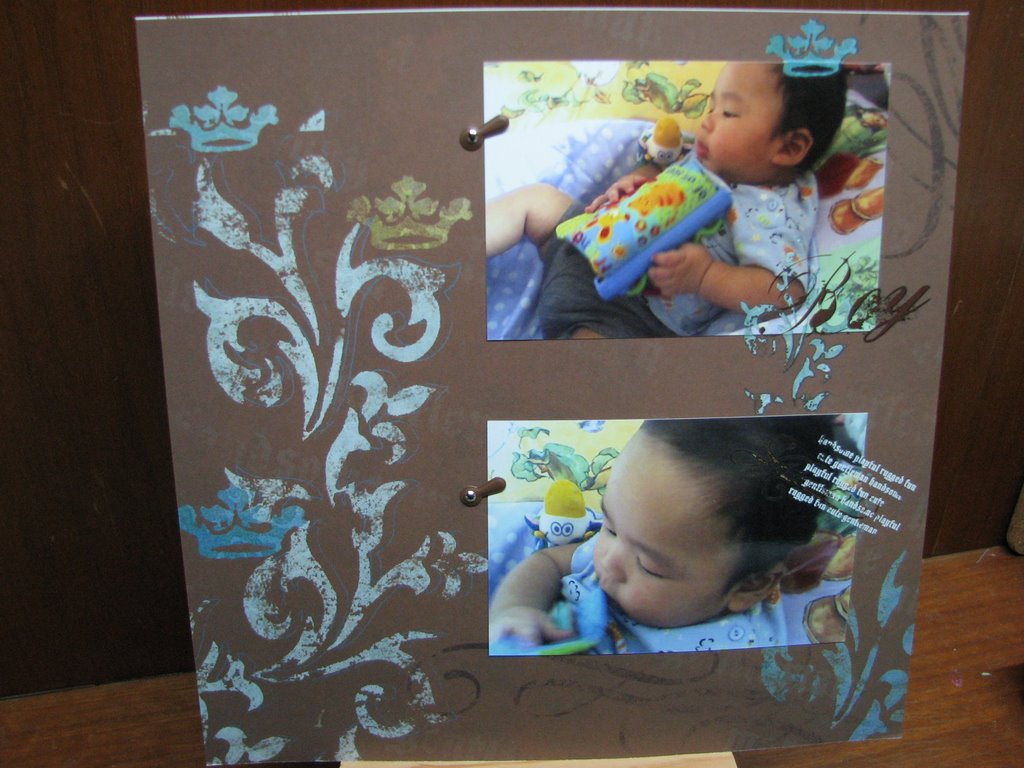
My Boy, My Prince


Another Bohemia design paper. Love them! This time i added thier rub-ons. Absolutely love them! Easy to use! A highly recommended product. The 'milestone' rub-on is from Phrase Cafe, bought from littlescrapbox.com. It was going for US$1.70! A must have. No more cracking head for journaling.

Monster Doodles


The Monster Doodles! I believe this was the first ever Dira drew something. She said that its a monster with eyes and a little bit of hair and smiling too. Dira was drawing this for a while. One after another. This picture was taken in Port Dickson during the Chinese New Year school holiday. I was heavily carrying Ariff at 7 months and decided to pack more of the girls' colour pencils and paper for the trip.

Glow


Another simple layout featuring the glow in the dark eyes of a Koala from Australia. Grandma bought this for Ariff and yes it does glow! It is so cute. Coincidently found glow in the dark alphabets at Toys r us, Midvalley. Only RM15.90! I am pretty ok with sticking non-acid free embellishments if its not directly on the photos.

Shop til' you drop


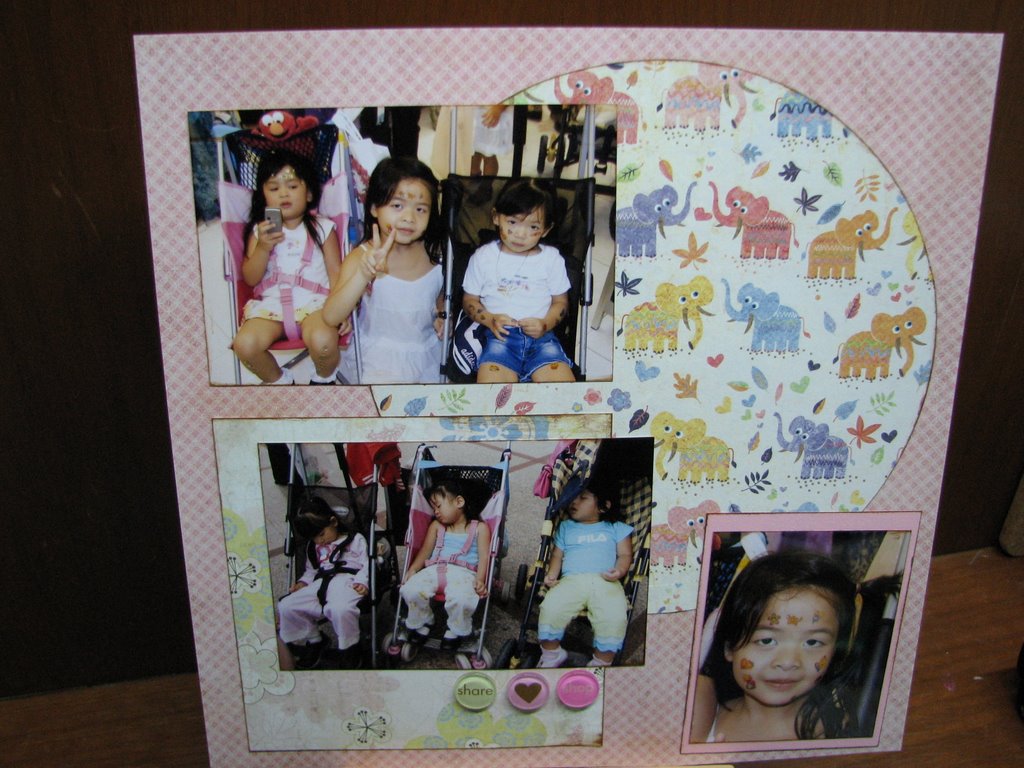
Just pulled out my 'old' brand new making memories (MM-according to Aning) circle cutter and made my first cut. Easy to use, hassle free but doubt it'll cut well if material is too thick. Love the Basic Grey Girly Elephant paper.

SuperHeRo


Nadira a.k.a 'SuperHeRo' to-the-rescue.. Bought 12x12 paper today, could not wait to scrap it. Its the new Bohemia paper. Absolutely love it! Love how its got te flowers and the curls and swirls round the corners too! Absolutely an easy design to use. As you can see i have added minimal embellishments onto the page, so full concentration is on the 'SuperHeRo' to-the-rescue face.

3 babies


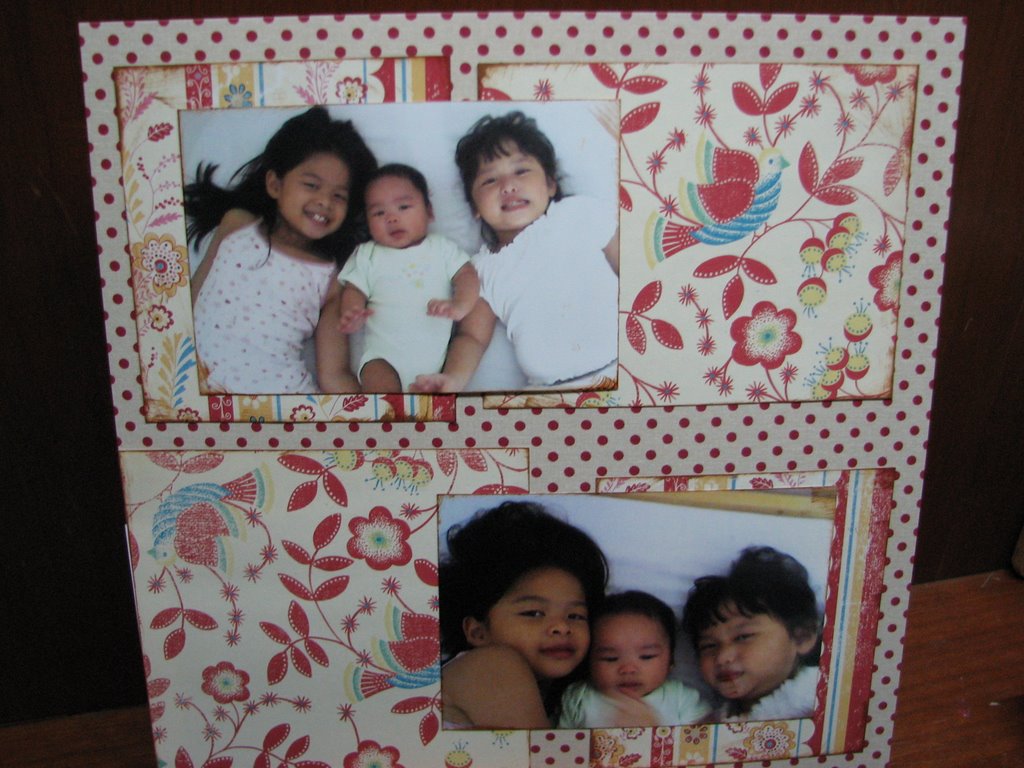
Here i wanted to show how my 3 babies are so different from one another. Nadia the reserve type, Nadira the expressive personality, Ariff the noisy one! They all look pretty some what different from each other, yet they all have the mother's eyes, almond shaped eyes!

This layout was pretty difficult for me to coordinate. I didnt want it to be too feminine or boyish. So decided to go with red. Love red must say!

To Have & To Hold


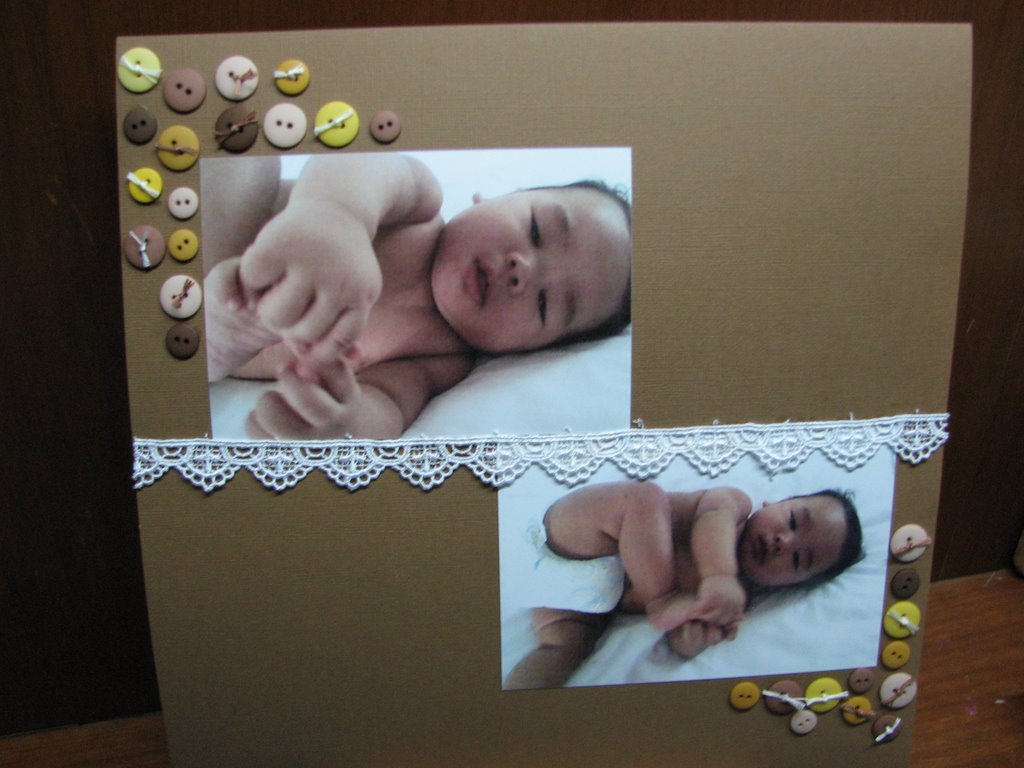
This is the most ever simplified layout i ever did. Wanted to experiment more with buttons. Used Bazzill buttons here, unfortunately, it is very expensive to buy buttons here in KL and really there is not of a choice either. So here it is my most simple layout of them all. Wanted to show how Ariff loves playing with his legs and toes! This photo was taken when he first started discovering his legs. Buttons, buttons, love buttons!!

Baby Aqiqah Favor 2


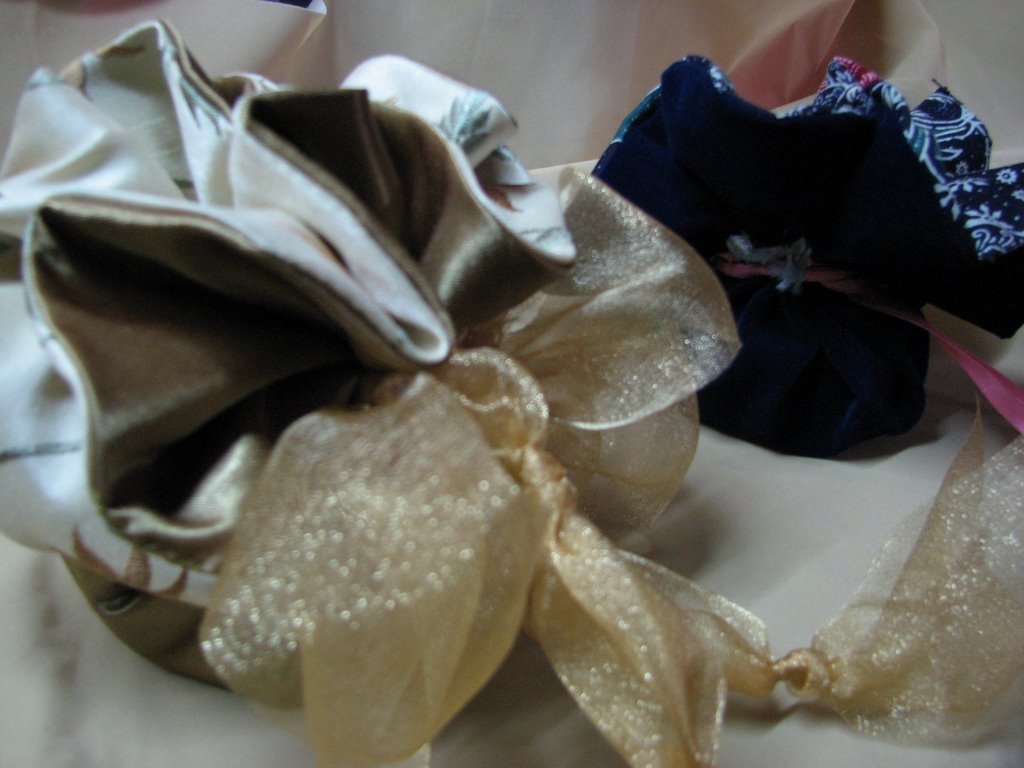
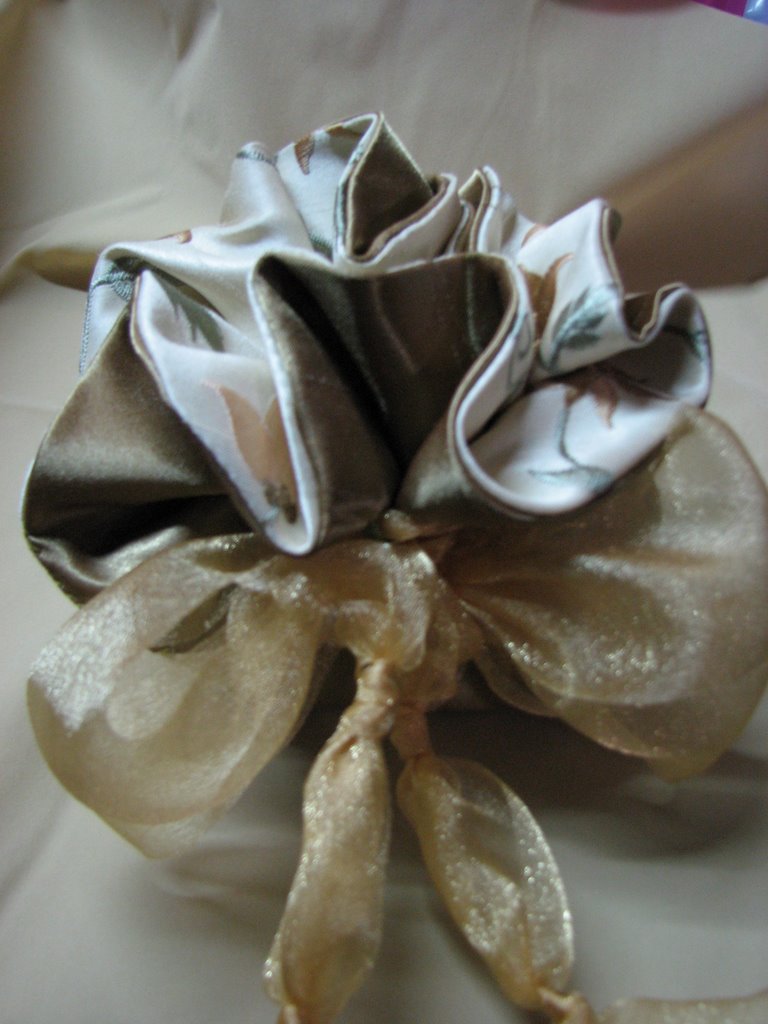
Mimin's first attempt to handsewn bags turned out very well. Ended up making one bag (nice bag must say!), few favor bags, and a sachet. Good job, min! Each little favor bags are of different material. The blue is slightly smaller and cheaper than the brown. Price of each favor depends on preferred material. Price ranges from RM15 to RM20 each bag. Great for small gifts and a few other teeny tiny thingies.

Saturday

Baby Aqiqah Favor 1


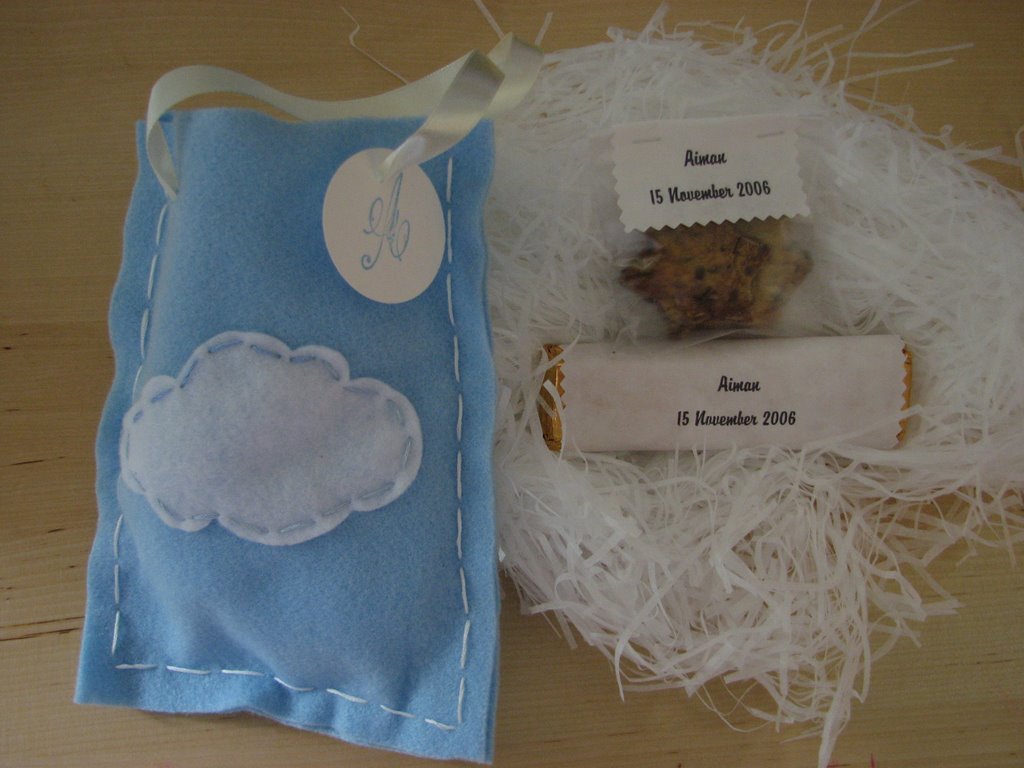
Every time i use felt, it reminds me very much for a 'baby-ish' purpose. Using felt to make into a bag was my very first idea! the favor bags are in baby blue with white cloud shape on the front of bag. Have a small selection of other shapes such as little lamb, baby aeroplanes, cars, bus, sailboats, etc to choose from. Satin white ribbon as a handle. Hand stitched the outline of bag with white embroidery cotton thread. The inside is filled shredded floss with customised short notes individually wrapped chocolates and cookies. To top it off, i attached a tag with baby's initials on it which dangles from one of the ribbon handle.

Each bag costs RM15 with contents mentioned. If need to change colour of bags, tags, wordings, etc we are happy to do it. Thanks for looking!

Wednesday

Baby Aqiqah Favors

My sis-in-laws, i must say, they love me, they are always looking out for customers for me. Thank you. They often encourage handmade gifts to their friends and not long after, i get orders for cards or invites or favors. They are ever so sweet, thank you. Yesterday, Intan (sis-in-law) called to ask if i could do baby favors for her nephew in November, to my excitement, "ofcourse" i shouted. Straight away my ideas were swamping my head!! Today, went out to gather materials for making the sample favors. I want to do something different this time, want to go more in detail of the contents in the favors, etc personalised wrapped chocolates, lollies, and anything and everything else that is yummies. Check back to see what i have come up with..

Sunday

Mini Book inspired by Creating Keepsakes Oct 2006


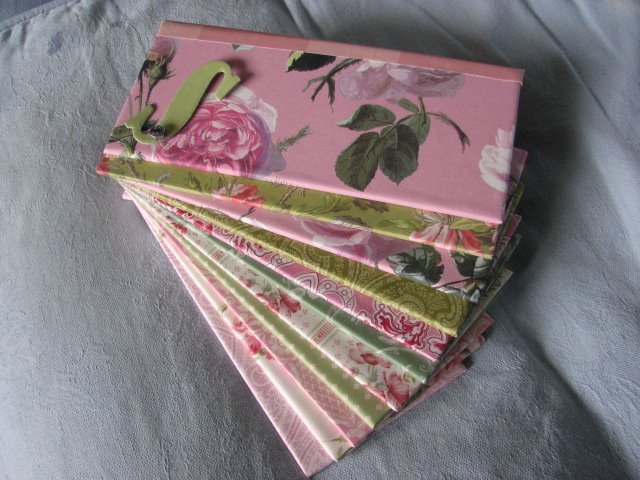
This mini book only took me half a day to finish. Its so simple thanks to my new tool, Crop-A-Dile. This tool makes punching holes through the ever-so-thick chipboard, easy without a sweat! When spotted this mini book in the Creating Keepsake October issue, could not help but to get right to it. Headed straight to the kitchen to get me-self an empty cereal box, cut it before even finding out the measurements of my chipboard remnants (silly i-know), got too excited there. Darn! so had to make the cover from stratch! No biggy.. did it in no time.. although i still have to re-look into my measurements again. This mini book is a keepsake for adding in a collection of my fav inspirational quotes. After having decided the theme, covering each of the 10 pieces of chipboard with Anna Griffin 12x12 patterned paper with glue stick, stacked in the order i preferred, then punched holes with me-fav Crop-A-Dile, so easy! And it's done. Please have a look, think its a real simple book to do. Try it!